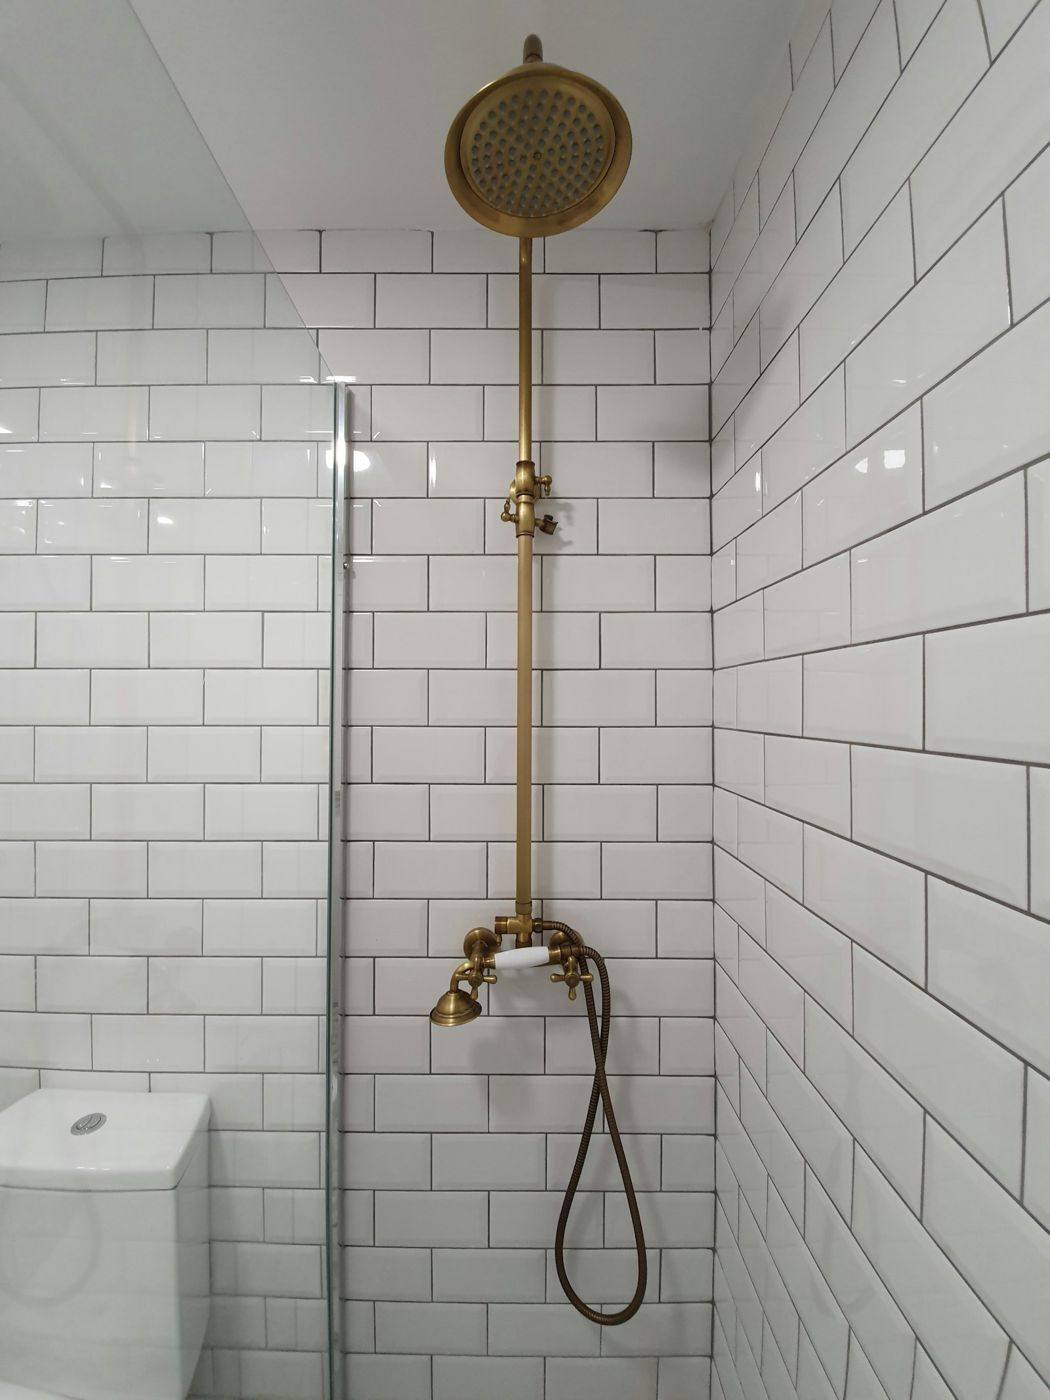

Job guides / Bath / Tile & Grout / Regrout a Shower
The Job Guide

Regrout a shower, the right way.

The short answerTo regrout a shower, cut out at least 1/8" of old grout with an oscillating tool and a carbide grout blade, vacuum the joints, then pack in fresh grout with a rubber float. Strike off the excess, shape the joints with a damp sponge, caulk the corners with silicone, and seal once the grout has cured (48–72 hours). Plan on 1–2 days.

Fresh grout makes tired tile look new and keeps water out of the walls. Below are the tools we'd use, the order to do it in, and the videos worth watching first.

DifficultyEasy–Moderate
Time1–2 days4–8 hrs hands-on, plus cure
DIY cost$50–$150estimate
Hiring a pro$10–$25 / sq ftestimate

Estimates. The DIY range is from FixUpFirst's regrouting guide; the pro range is from Angi.

Regrout a Shower
9 stepsEvery pick rated about 4.5★ or higher, from hundreds to thousands of reviews.
Your Match

The kit, vetted.

Tick items off as you shop. Ratings and review counts were checked on 2026-10-14. Home Depot prices are as of 2026-10-14. Amazon shows its price at checkout.

Tools

5 items
DEWALT 20V MAX XR Oscillating Multi-Tool (DCS356B, tool only)
Top PickPower tool

DEWALT 20V MAX XR Oscillating Multi-Tool (DCS356B, tool only)

Does the grout removal for you. Brushless, variable speed. Bare tool; battery sold separately.

Affiliate link placeholder · Home Depot prices as of 2026-10-14 · Amazon prices shown at checkout
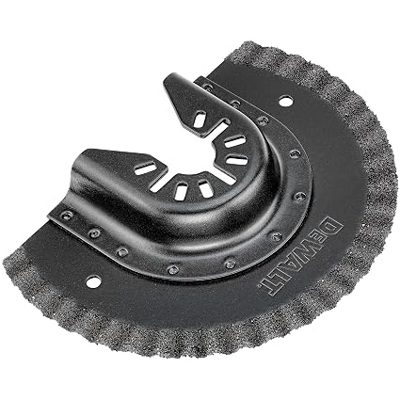
DEWALT Fast-Cut Carbide Grout Removal Blade (DWA4220)
Top PickBlade

DEWALT Fast-Cut Carbide Grout Removal Blade (DWA4220)

Universal-fit carbide blade for 1/8" joints.

Affiliate link placeholder · Home Depot prices as of 2026-10-14 · Amazon prices shown at checkout
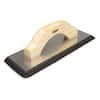
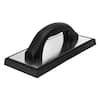
QEP XL Non-Stick Gum Rubber Grout Float, 10.5" (10070)
Top PickFloat

QEP XL Non-Stick Gum Rubber Grout Float, 10.5" (10070)

Wide, non-stick gum rubber face that packs joints fast.

Affiliate link placeholder · Home Depot prices as of 2026-10-14 · Amazon prices shown at checkout

Materials

5 items
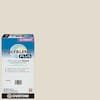
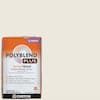
Polyblend Plus #11 Snow White Unsanded Grout, 10 lb
Walls ≤1/8"Grout

Polyblend Plus #11 Snow White Unsanded Grout, 10 lb

Polymer-modified, rated for showers. For joints up to 1/8".

Affiliate link placeholder · Home Depot prices as of 2026-10-14 · Amazon prices shown at checkout
Polyblend Plus #381 Bright White Sanded Grout, 25 lb
Floors 1/8"–1/2"Grout

Polyblend Plus #381 Bright White Sanded Grout, 25 lb

For wider joints and shower floors.

Affiliate link placeholder · Home Depot prices as of 2026-10-14 · Amazon prices shown at checkout
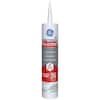
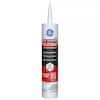
GE Supreme Silicone Kitchen & Bath Sealant, White
Top PickCaulk

GE Supreme Silicone Kitchen & Bath Sealant, White

100% silicone for inside corners and the tub/pan joint.

Affiliate link placeholder · Home Depot prices as of 2026-10-14 · Amazon prices shown at checkout
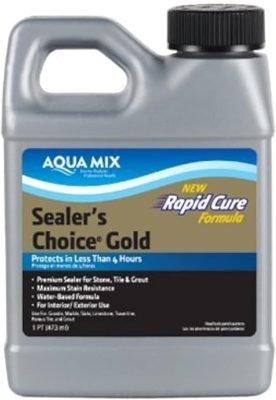
Aqua Mix Sealer's Choice Gold Penetrating Sealer, Pint
Right-SizedSealer

Aqua Mix Sealer's Choice Gold Penetrating Sealer, Pint

The pro's grout sealer, sized for one shower. Apply after the grout cures.

Affiliate link placeholder · Home Depot prices as of 2026-10-14 · Amazon prices shown at checkout
The Method

Step by step, start to finish.

  1. 01

    Prep & protect

    Clean the shower, cover the drain, and put on eye and dust protection. Cut out old corner caulk.

  2. 02

    Remove the old grout

    Run the grout blade down the center of each joint, at least 1/8" deep. Let the blade do the work.

  3. 03

    Vacuum & wipe

    Vacuum every joint, then wipe with a damp sponge. Dust left behind weakens the bond.

  4. 04

    Mix small batches

    Mix to a peanut-butter consistency, let it slake (rest), then remix. Only mix what you can use in about 30 minutes.

  5. 05

    Pack the joints

    Hold the float at 45° and press grout diagonally across the joints, one wall at a time.

  6. 06

    Strike off

    Turn the float nearly on edge and scrape diagonally to remove the excess.

  7. 07

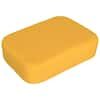
    Sponge & shape

    Once the grout firms (15–30 min), wipe with a well-wrung sponge to shape the joints. Buff off the haze later.

  8. 08

    Caulk changes of plane

    The next day, run silicone in the inside corners and at the tub or pan joint.

  9. 09

    Cure, then seal

    Wait 48–72 hrs, apply penetrating sealer, wipe off the excess, then keep the shower dry for 12 hrs.

Watch First

See it done, then do it.

Our picks of the clearest tutorials. Credit and copyright belong to the creators.

Get It Done Home Repair

How To Remove And Replace Grout In A Shower | DIY For Beginners

Full shower walkthrough: removal, cleanup, regrouting.

Visit channel ↗
Family Handyman

How to Grout Tile Floor Like a Pro

Shows a floor, but the float and sponge technique is the same.

Visit channel ↗
Prefer to read?
How to Regrout a Shower, from Family Handyman
Read the guide ↗
Good Questions

Before you start.

Sanded or unsanded grout?

Use unsanded for joints 1/8" or narrower (most wall tile) and sanded for wider joints and most shower floors.

Can I grout over old grout?

Not reliably. Remove at least 1/8" so the new grout has enough depth to bond and doesn't flake off.

Should corners get grout or caulk?

Caulk. Inside corners and the tub or pan joint move, and grout there cracks. Use 100% silicone.

The Monthly Punch List

One email a month. What to fix, before it breaks.

Seasonal maintenance, the tools worth buying, and a new job guide each month.

Placeholder form. No emails are collected yet.